> For the complete documentation index, see [llms.txt](https://docs.dropzone.ai/llms.txt). Markdown versions of documentation pages are available by appending `.md` to page URLs; this page is available as [Markdown](https://docs.dropzone.ai/integrations/data/vectra-ai_data.md).

# Vectra AI

The Dropzone AI Platform integrates with [Vectra AI](https://www.vectra.ai/platform), an AI-driven NDR platform for automated threat detection and response across hybrid networks, including public clouds, SaaS, identity systems, and data centers. Dropzone supports both Cloud and On-premise deployments of Vectra AI.

## Create an API Client (Cloud Deployment)

If you have a Cloud deployment, Vectra AI requires an API Client and Secret Key to enable.

To obtain these, do the following:

* Log in to your Vectra AI console
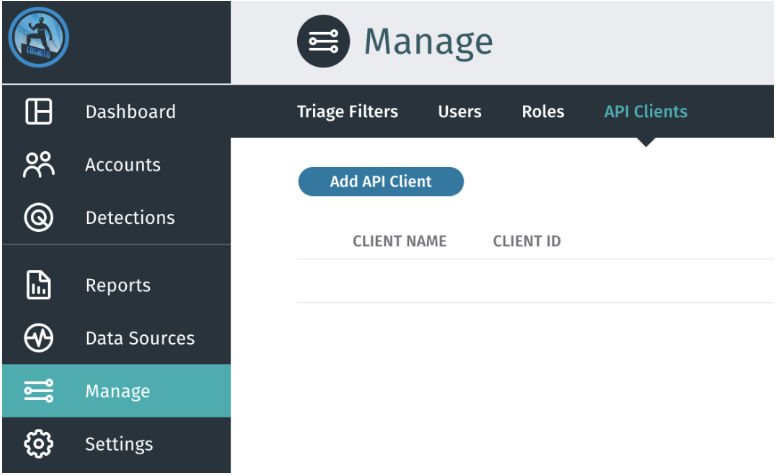
* In the left sidebar, navigate to Manage > API Clients
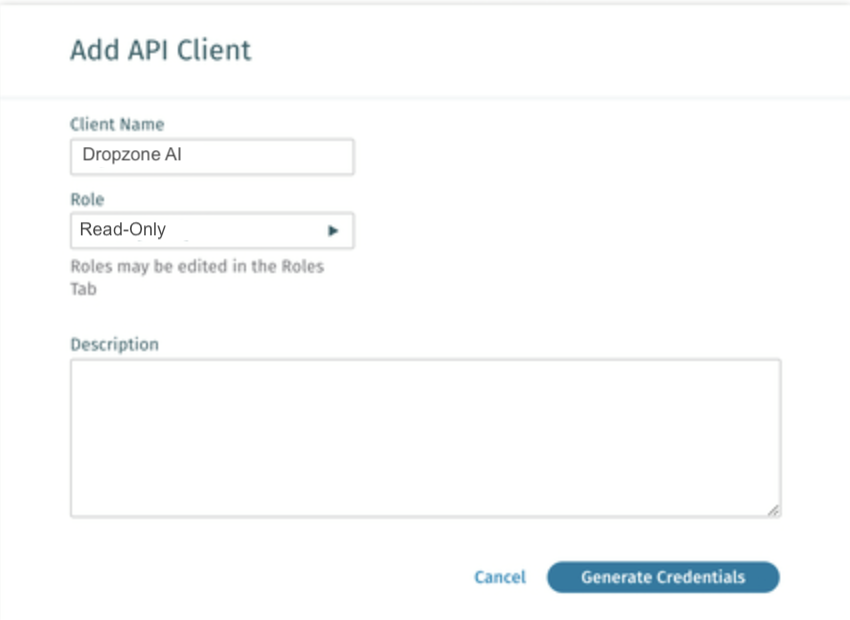
* Click "Add API Client"

<figure><img src="/files/o3mS5WavADHzejZBxllH" alt=""><figcaption><p>Add API Client</p></figcaption></figure>

* Name the client something memorable, such as "Dropzone AI"
* Assign the client the Read-Only role
* Click "Generate Credentials"

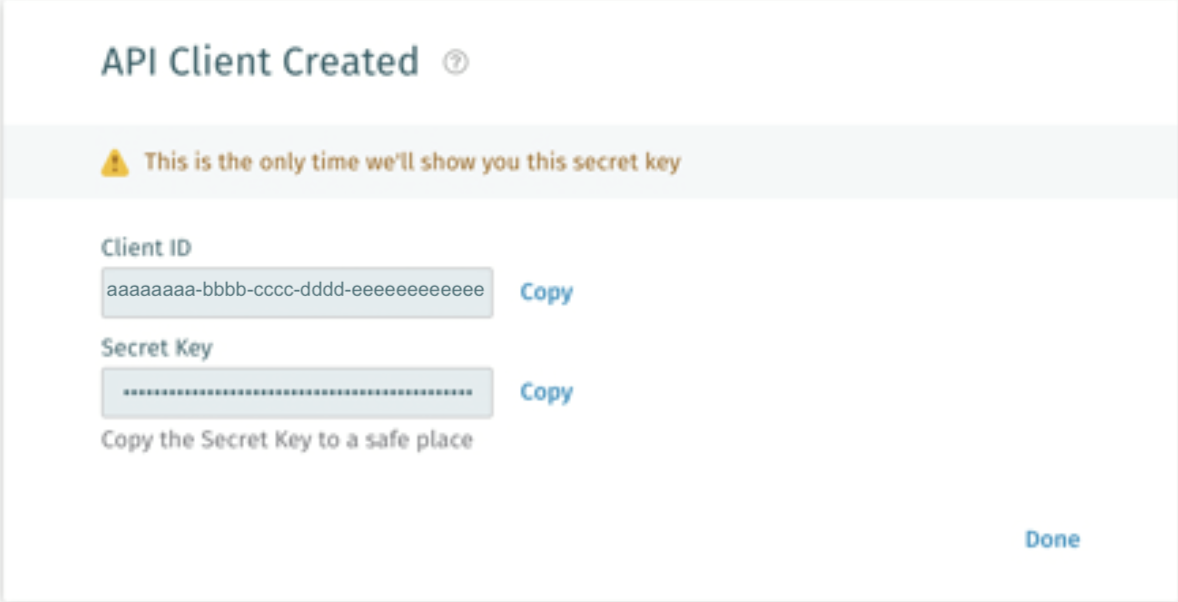
<figure><img src="/files/kW0py6WqJ33i80wF7cRV" alt=""><figcaption><p>Generate the API Client</p></figcaption></figure>

* Copy the Client ID and Secret Key generated for use later in the Dropzone UI, where they are called "OAuth2 Client ID" and "OAuth2 Client Secret," respectively

<figure><img src="/files/QJoWV4oqgTsmGuHguYWk" alt=""><figcaption><p>Save the credentials</p></figcaption></figure>

## Create an API Token (On-Premise Deployment)

* Log in to your Vectra AI console
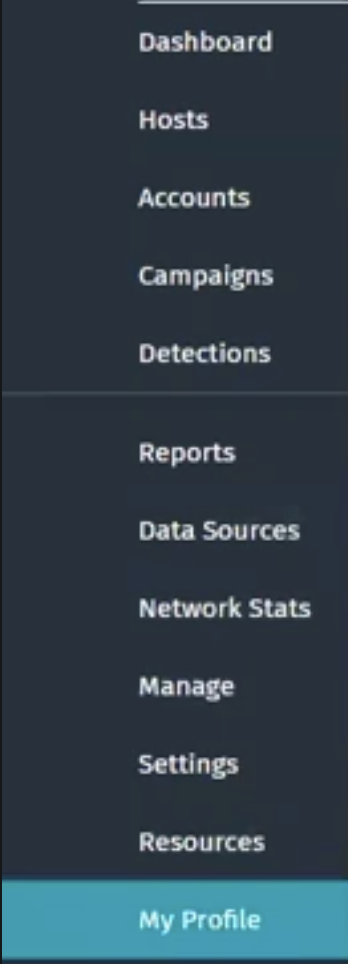
* In the left sidebar, navigate to My Profile

<figure><img src="/files/13wefDnSFhTnjxC0rvAt" alt=""><figcaption><p>Click "My Profile"</p></figcaption></figure>

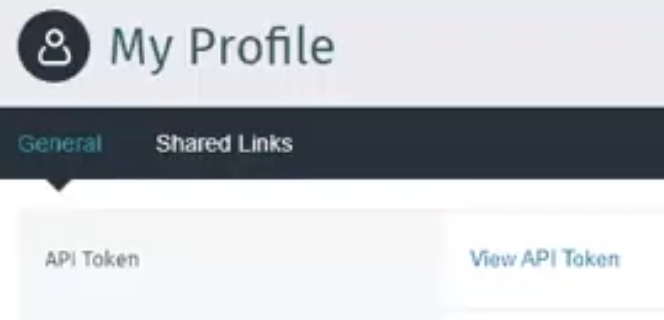
* Click "View API Token"

<figure><img src="/files/iCJ3zBIg5s4AFMHX3HGL" alt=""><figcaption></figcaption></figure>

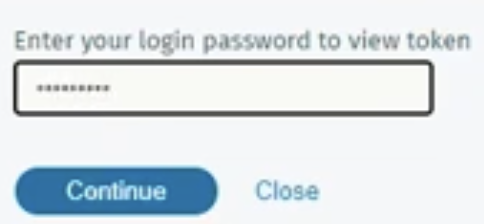
* Input your password, then click "Continue"

<figure><img src="/files/gG1sS1oeLHkE71eDMJsq" alt=""><figcaption><p>Input your credentials</p></figcaption></figure>

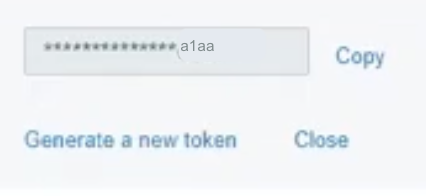
* Copy the API token shown for use later in the Dropzone UI, where it is called "API Token"

<figure><img src="/files/KR64p2I7KP62MnhAGfEt" alt=""><figcaption><p>Copy the API Token</p></figcaption></figure>

* Click "Close"

## Enable Vectra AI

To enable the Data Source integration, you'll need the following information:

| Dropzone Field       | Source                                                                                    |
| -------------------- | ----------------------------------------------------------------------------------------- |
| Deployment Type      | Your Vectra AI deployment type, e.g. Cloud or On-Premise                                  |
| Vectra AI URL        | The base URL of your Vectra instance, e.g. <https://api.vectra.ai> or <https://10.20.1.5> |
| OAuth2 Client ID     | The Client ID value you copied earlier. Only necessary for Cloud deployments              |
| OAuth2 Client Secret | The Secret Key value you copied earlier. Only necessary for Cloud deployments             |
| Vectra AI Server     | The server hostname of your on-premise deployment, e.g. 10.20.1.5                         |
| Vectra AI Port       | The API port of your on-premise deployment                                                |

To enable the Data Source integration, do the following:

* Navigate to your Dropzone AI tenant home page e.g. https\://*mycompany*.dropzone.app
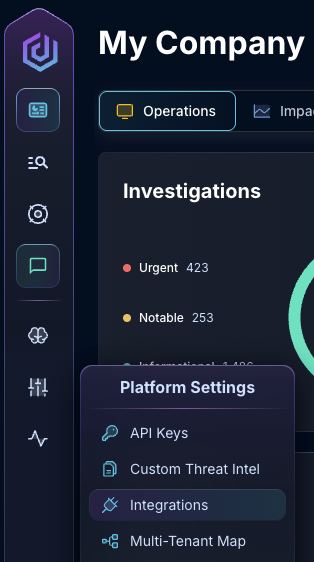
* In the bottom left hand corner, navigate to Settings > Integrations

<figure><img src="/files/zN02u3HObDaemUY8E1kD" alt=""><figcaption><p>Integrations Dropdown</p></figcaption></figure>

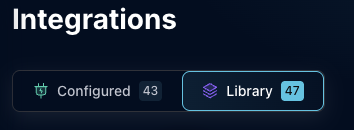
* Click "Available"

<figure><img src="/files/brI7n2Ux40Tk0jTwBCVh" alt=""><figcaption><p>Click Available</p></figcaption></figure>

* In the Search bar, search Vectra AI then click "Configure"

<figure><img src="/files/aE75SNDcVRChHbWNne5G" alt=""><figcaption><p>The Vectra AI Tile</p></figcaption></figure>

* Under the Data Source header, if your Vectra AI integration is behind an [On-premise Dropzone Connector](https://docs.dropzone.ai/platform/settings/connector), select your connector from the dropdown
* Input your Deployment Type and Vectra AI URL

<figure><img src="/files/Aqp7pzL9LHhEdnNW0mIo" alt=""><figcaption><p>The Vectra AI alert source configuration (pt 1)</p></figcaption></figure>

* If you have a Cloud deployment, input the OAuth2 Client ID and Secret

<figure><img src="/files/BA9lKeSTRs7vgUtVSu1C" alt=""><figcaption><p>The Vectra AI alert source configuration (pt 2)</p></figcaption></figure>

* If you have an On-premise deployment, input the Vectra AI Server, Port, and API Token

<figure><img src="/files/Rx57bs1v1gadDQOaDEkH" alt=""><figcaption><p>The Vectra AI alert source configuration (pt 3)</p></figcaption></figure>

* Click "Test & Save" to finish

If you have any errors or questions, engage your Dropzone AI support representative.